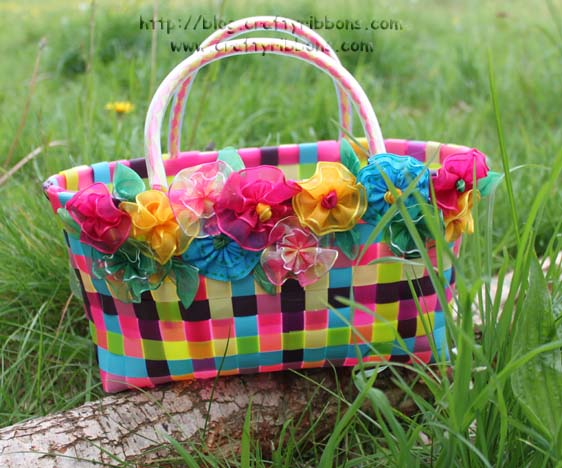
I had a little helper with me while trying to take this photo. But he did carry the flower bag all the way to the park and back!

Sam is feeling much better and picking flowers was just what he needed to get some colour back in his cheeks.

Just checking to make sure they are all still in there!
Double Ribbon Blooms.
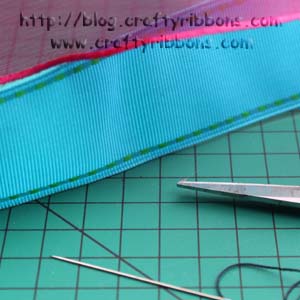
1. Gather at the bits you need around you. Scissors, needle and strong thread and ribbon. I used 40mm ribbon, grograins can be found here and I also used a selection of sheer ribbons from our Spring Time Collection which you can see here.
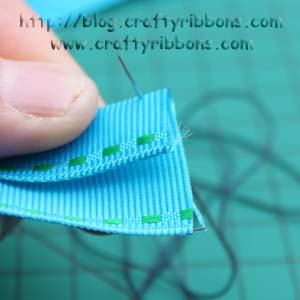
2. Cut the ribbon into a 22cm length, (if your ribbon is wired, remove the wire from one of the edges.) Fold the ribbon but not quite in half, the edge without the wire is the one to fold down. Thread the needle and put a knot in the bottom of the thread. Put the needle into the folded edge and sew along the fold. You can play around with the amount you fold down as this creates different sized double blooms.
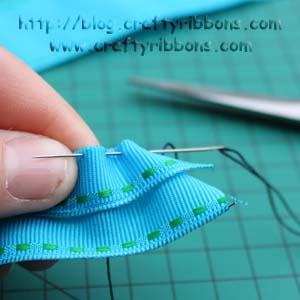
3. Sew along the folded edge of the ribbon, make your stiches about 6-7mm in length and the same distance apart.
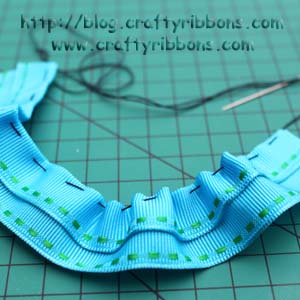
4. All sewn, you can now see the double bloom effect.
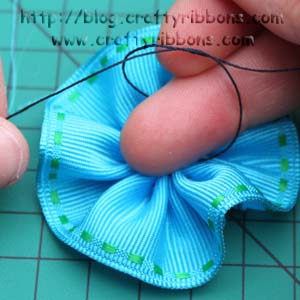
5. Remove the needle and gather the ribbon on the thread, pulling from both thread ends. Turn the flower over so you have the back facing you and tie a knot, so it is really tight, Tie another knot on top.
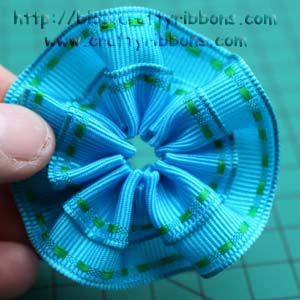
6. Depending on the type of ribbon you use, a thickish ribbon like grosgrain will leave a hole, while a sheer ribbon will gather up with no hole at all.
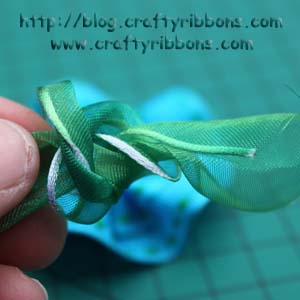
7. Use a scrap of ribbon and tie a knot in the centre.
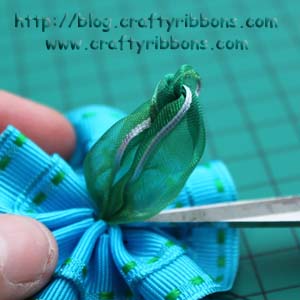
8. Push the ribbon tails into the flower hole, use the tip of your scissors to help. You want the knot to sit on top of the flower hole. Secure the knot in place with a dab of glue or a few stitches.
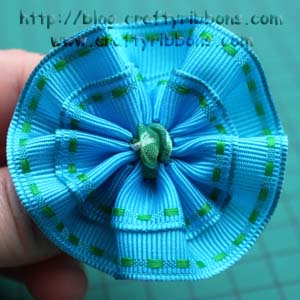
Finished Double Ribbon Bloom.
Have a play with different type of ribbons, this white bloom below was made using one of the NEW Ribbons from the Monochrome range yesterday (find it HERE).
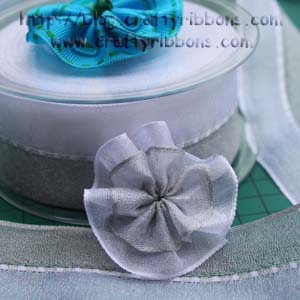
This ribbon is half silver and half white, so is perfect for Double Ribbon Blooms!